Haven
Hannah's

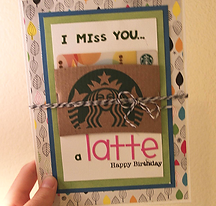
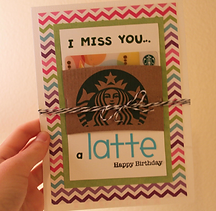
It's a Starbucks Giftcard Card!
Isn't this just absolutely adorable? It's so pretty, and the color choices are endless... plus it's super easy! It's a great way to present a giftcard... because I think just sticking giftcards in a card gets kinda of boring, don't ya think? Make this as a teacher gift or for a friend's birthday like I did that lived across the country!
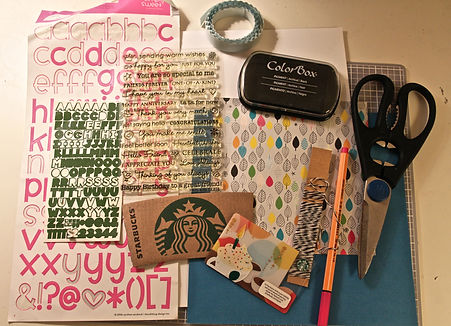
Here's what you need:
-
white cardstock
-
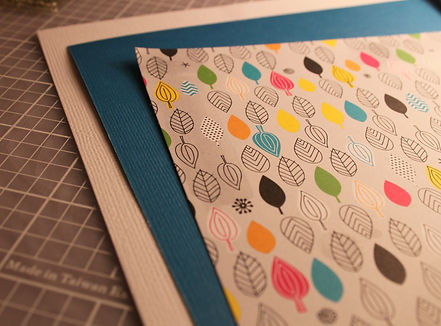
two different kinds of colored paper (I used one with a pattern and one that's a solid)
-
letter stickers
-
(I used a Happy Birthday stamp... but that was just because it was a birthday card, plus I love using stamps!)
-
Starbucks sleeve
-
Starbucks giftcard
-
twine
-
scissors
-
stapler
-
double sided tape (or whatever you want to use, but I think if you used glue it wouldn't turn out as smooth, but it's whatever you have!)
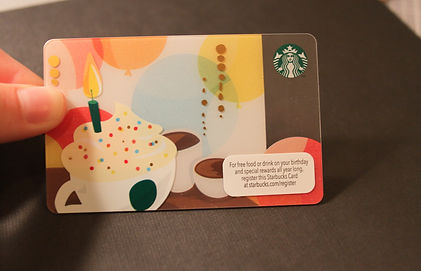

I don't know if these are like only for a certain time period or something, but when I walked into the store to get a giftcard I was so stoked to see these... they are so cute! I was planning on just finding a plain one, but these are so charming and perfect for my friend's birthday! (:
I think a lot more people have rubber stamps than clear stamps, but I am pretty sure that I only have clear stamps! I love that they don't take up that much room and usually come in a bunch! Anyways, I happened to have this one set with a ton of cute phrases and I was dying to have an excuse to use them... so it may not have needed it but I stamped "Happy Birthday" at the bottom of the card when I was done!
Ok so to be honest I don't really have exact measurements for the paper sizes, which can kind of be fraustrating! When I saw something like this and wanted to recreate this, they didn't have measurements either, just I basically winged it. Although my thought process when I was figuring this out was to cut the white cardstock that the actual sleeve goes on first (the one on the top). You probably want to make that one first so you know that the Starbucks sleeve fits. After that though, I don't even think the measurements matter. You just keep layering paper after paper. Although, when I was taping the solid paper down to the patterened paper, I made sure to make the patterened piece extra big so you can see a lot of the pattern! I think this is the funniest (in my world, yes, funniest is a word) part! You can coordinate different paper patters and colors any way you want!
Once you are done with the paper (it's the hardest part... so once you're done with that it's all decorating-- yay!) than you can just add all the Starbucks sleeve and stickers and the other goods. Make sure to lay the sleeve down on the paper before you cut it because the sides of the sleeves are slanted so they won't match up with the paper edge if you don't trace it first (I hope that makes sense!). Also, I stapled the sleeve to the paper! Just one each side did the trick... then cover the staples by wrapping some twine around it!
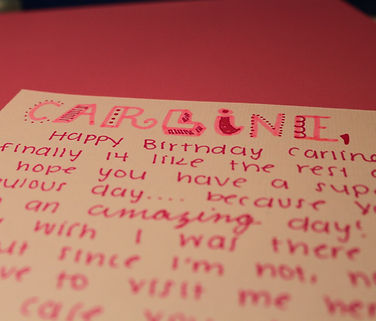
And then once you are done with that you can write a note on the back like I did! I tried to write to my friend Carline in some wannabe cool writing! ;)
... and you're done! I hope it turned out beautiful! I think they are so pretty and a great way to give a giftcard!